By Jackson Godwin. Cybersecurity Analyst & Penetration Tester.
In this tutorial, we will guide you through the process of installing macOS on VMware within a Windows environment. VMware is a free and open-source virtualization platform for x86 and x86-64 architectures, enabling users to run multiple guest operating systems simultaneously on a single host. Virtualization offers a flexible alternative to dual-booting, making it a preferred choice for those who need to run multiple OS environments without system partitioning.
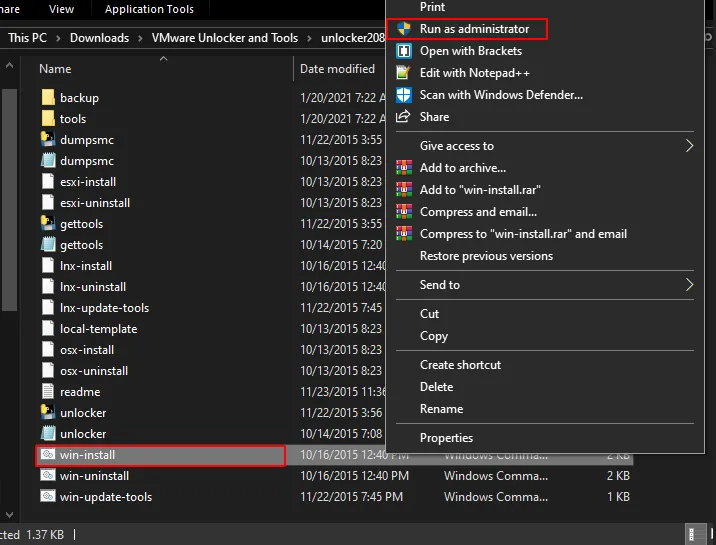
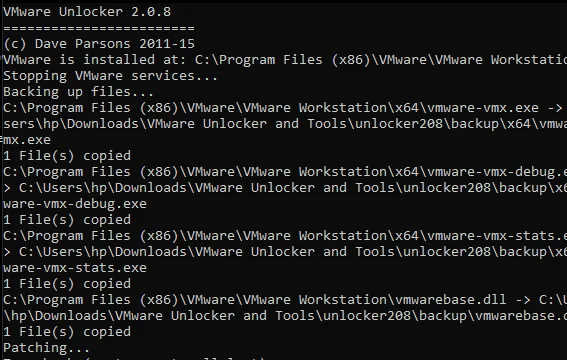
MacOS unlocker is coded in batch language and developed for removing the restriction of VMware on Windows and Linux Distributions
After removing the restriction in the VMware software, it will shut down its terminal itself. After that, you need to reboot your system.
Download MacOS ISO
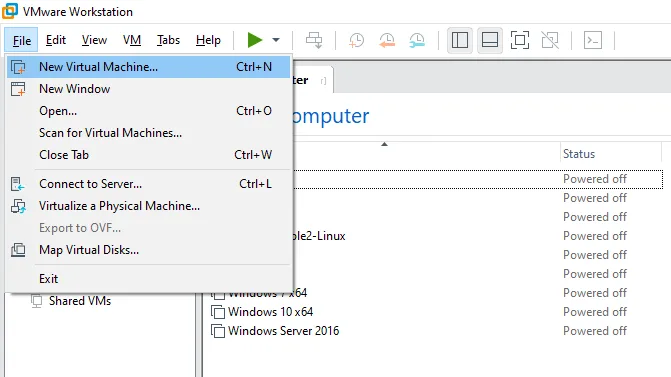
Boot VMware software, click on file option and choose “new virtual machine“
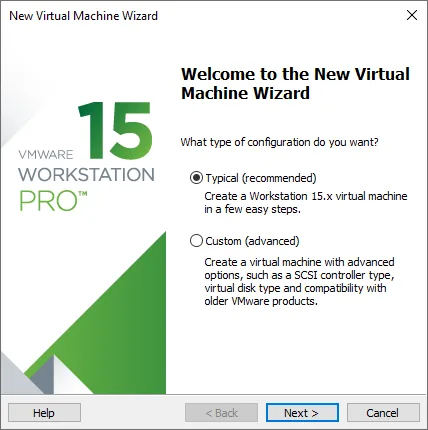
Just click on “continue” and proceed to the next
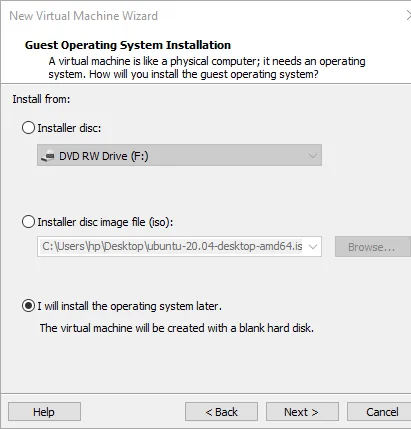
Select the “I will install the operating system later” option and go ahead.
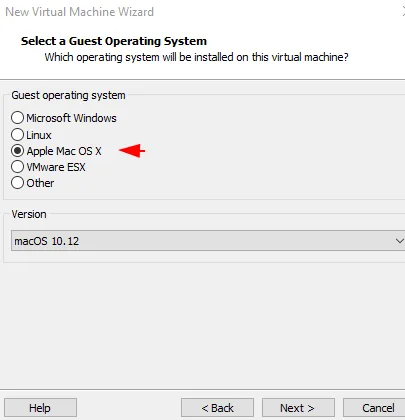
Select the “Apple MacOS” option and move to the next phase.
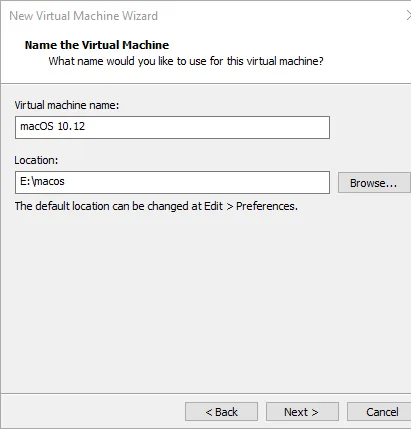
Enter the machine name you want to keep and click on next.
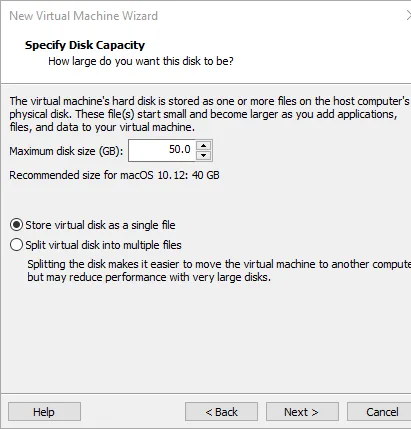
We would recommend to give minimum of 50GB of disk space to the operating system.
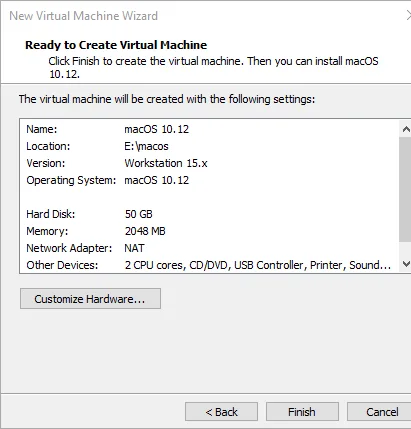
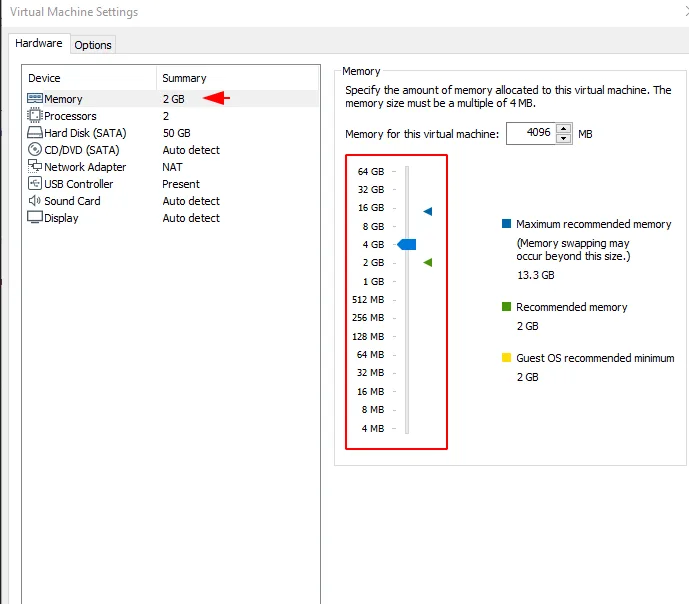
Now we will customize something in the configuration of the hardware.
You can specify the amount of memory as per you but the minimum should be 4 GB.
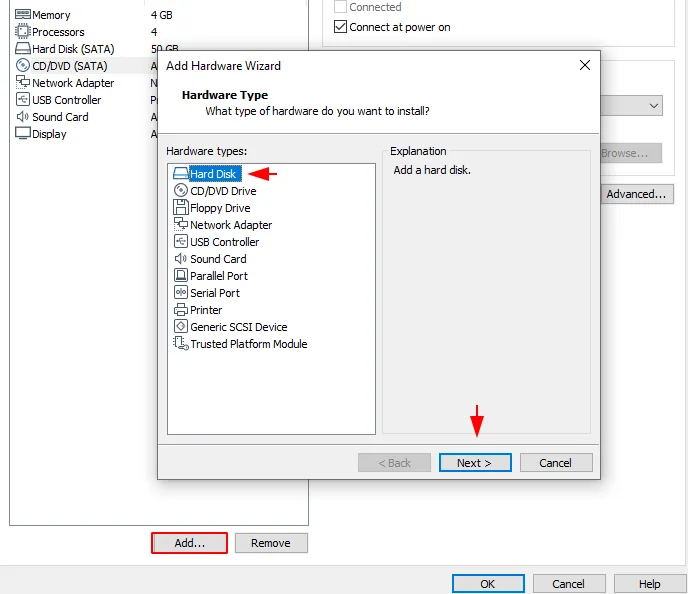
Now, click on the “Add” button and install a “hard disk” by clicking on it.
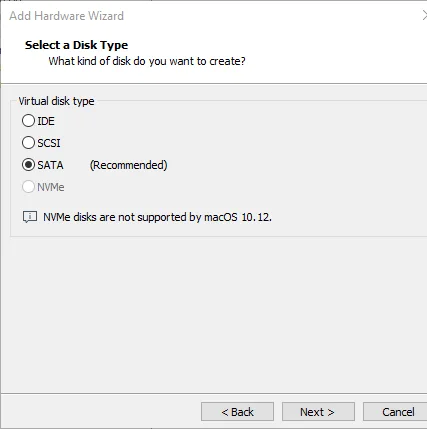
After clicking on the next button, choose the recommended option and proceed.
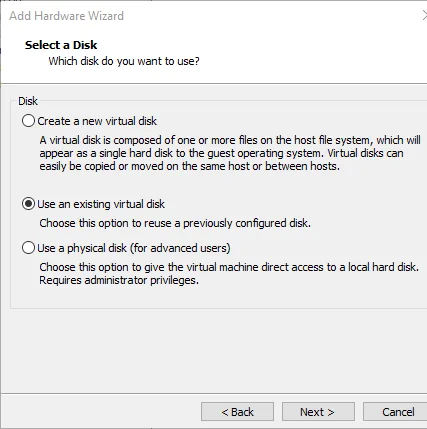
Select the second option and proceed again.
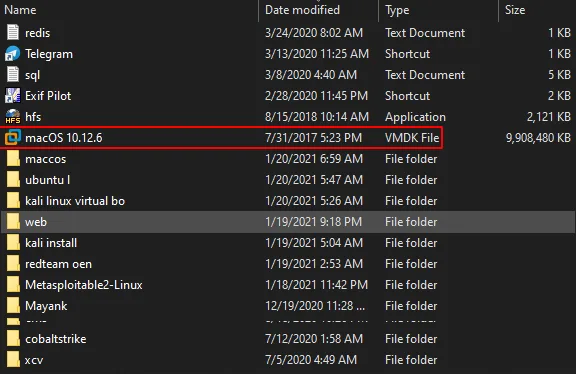
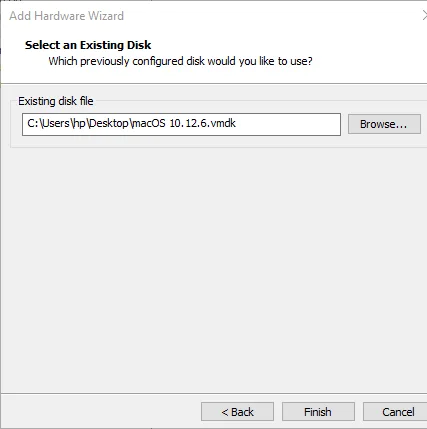
Now find the downloaded MacOS file using the “browse” button, select it and click on finish.
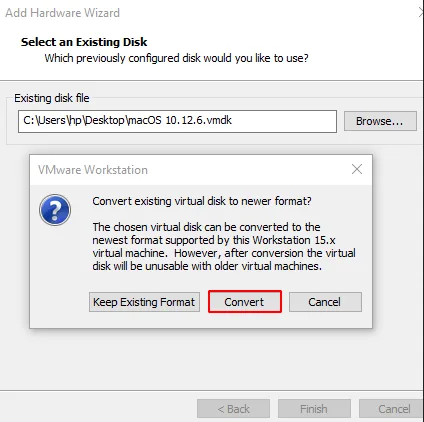
All you have to do is click the “convert” button and proceed.
Amazing 😛 !! See the image below, our Mac OS is now fully booted up.
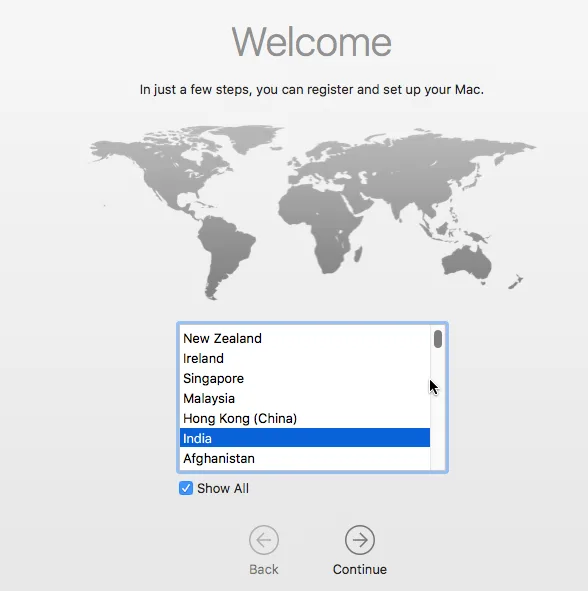
Select the language you want and click on continue
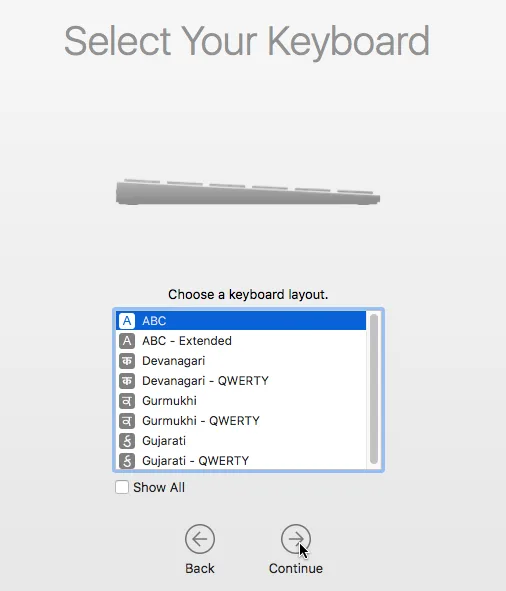
Now choose the language of the desired keyboard and click on continue.
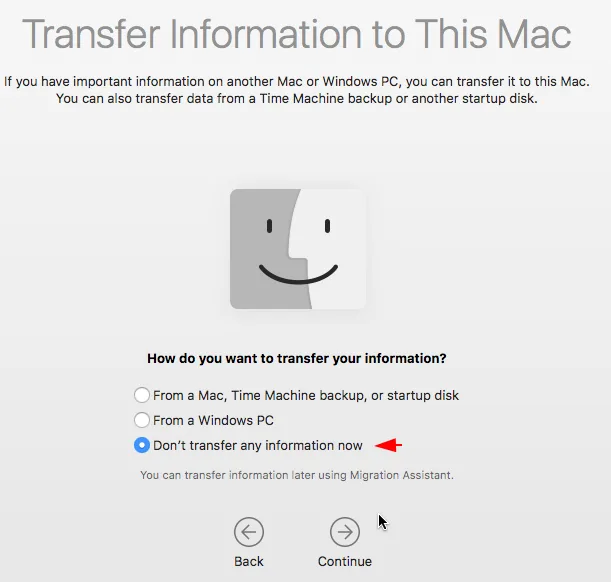
We do not want to transfer any information, hence we will select the third option and go ahead.
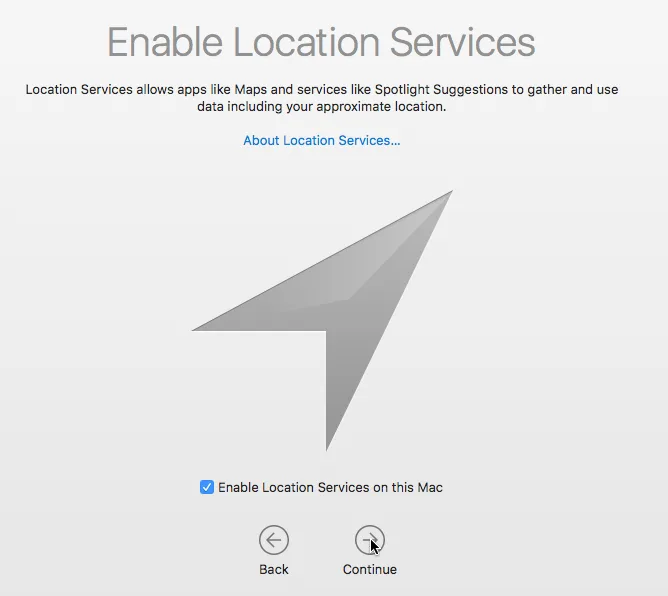
Enable the location service in macOS by simply checking the box.
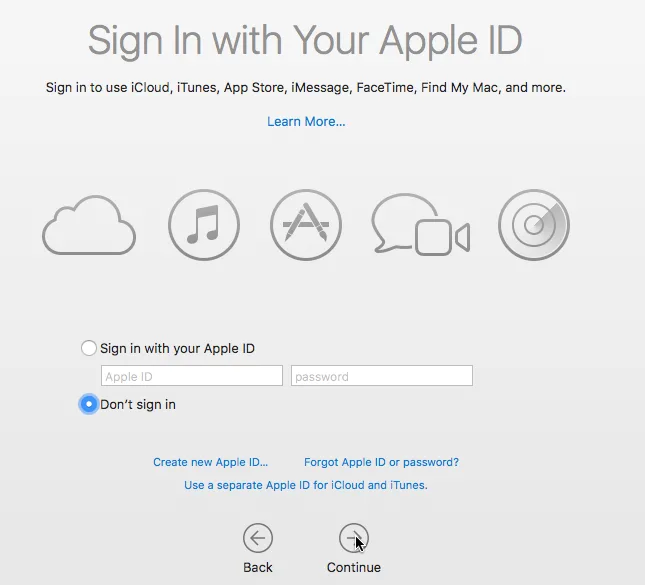
If you have an Apple ID, then you fill it in; otherwise, you can leave it.
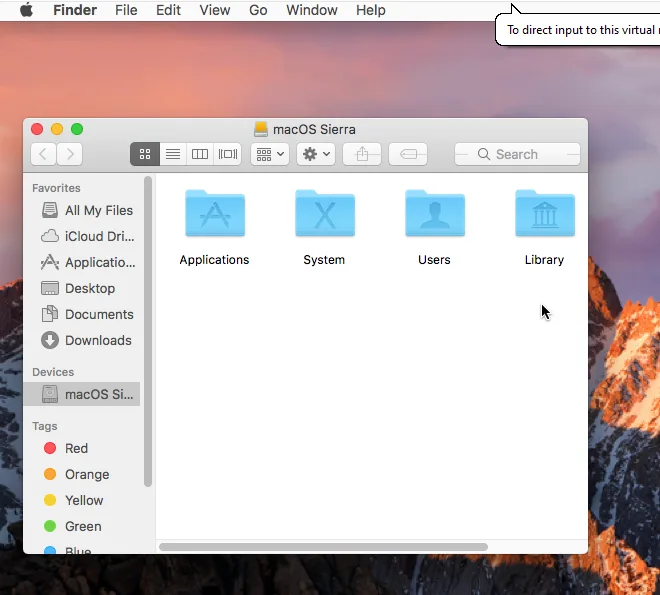
Incredible 😛 !! As you can see, our MacOS is finally installed in a virtual machine on a Windows machine.
About the Author
Jackson Godwin is a Cybersecurity Consultant specializing in Vulnerability Assessment and Penetration Testing (VAPT), Governance, Risk and Compliance (GRC), ISO 27001, PCI DSS, Cloud Security, and Enterprise Security. Through JacksonTechnology.com.ng, he shares practical compliance guides, cybersecurity tutorials, penetration testing resources, and security best practices to help organizations strengthen their cyber resilience.